Monday 30 January 2012

Existing DVD cover deconstruction

The brand of 'Peppa Pig' is one that shares many features and components with our project so we decided that we would use the DVD cover of the brand as a style model for our DVD cover.
As we can see in this design it shares a lot of very similar repeated components that are consistant throughout the brand for brand recognition (logo, character, background, font). This is a strong feature that we will make sure to include in our final piece. The design is also very simple as the main bulk of information text would be on the back of the DVD case, this means that it is a very minimalistic and allows each individual component to stand out.

Saturday 28 January 2012

Drawing Development - Finals

These are the updated and coloured images that we will use in our animation. The white areas on most of these images will be cleared so that when I distribute them to individual layers, the layers underneath will be visible.


Thursday 26 January 2012

Hierarchy

The 'Hierarchy' of a design is the placement as size of different components within the design, these factors effect the focus of a design and importance of individual components and features. For example; in almost every design within the DVD and Magazine industry the Title Logo will be one of the largest components as it is extremely important for brand identity and brand recognition. Another example is the price, in most situations the price label will be one of the smallest components to draw attention away from the money aspect of the product.
These are some of the two main Hierarchy compositions that we thought would work best for our product and that we will base our designs on.

Monday 23 January 2012

Drawing Drafts


These are some of the original sketches that preceded our final images, we drew them in pencil by hand, then traced them with a darker pen so that the scanner could pick it up more clearly. As we have talked about before in previous posts we want our scenery to simplistic and stylised, some of it with a 'partially rendered' effect. Colouring the images digitally in Photoshop rather than by hand gave us much more freedom with colours and unlimited attempts at getting it right.

Sunday 22 January 2012

Teaching Hannah Flash

In this video I am teaching Hannah the very very basics of our animation and how it works, this means that she can help me with constructing the final animation. We created a very very basic movement of one of his body parts, and I explain to her how our full animation is just a complex compilation of many of these simple movements.

Friday 20 January 2012

Animation test

This is our first animation test using all of the graphics such as the background in one scene. The animation sequences and tweens are very basic and in the final animation they will be alot more detailed. As a whole, on the technical side of things (export quality, resolution etc) we are happy with the outcome.

Thursday 12 January 2012

Flash Problems 1

I mentioned in previous posts that I was using flash and was also having some troubles getting it to do exactly what I wanted. To clear things up I'll explain what it is exactly that I'm trying to do, and whats going wrong.

The objective is to have individual body parts within flash that I can move and tween to create a moving image. I have all the individual parts drawn out in Adobe Illustrator and importing them to flash seems not to be a problem although there are a lot of different options when it comes to animating images in flash (bitmap, imported, symbol etc) and as I don't know the technical difference between the options I'm using trial and error to find which one works. For example to make sure certain parts rotate correctly from the correct angle (e.g. arms rotating from the end rather than the center), a point on an image in flash called the 'transformation point' controls where the image scales and rotates from, unfortunatley im having problems permanently changing the location of this point on the parts I import.

Tuesday 10 January 2012

Images

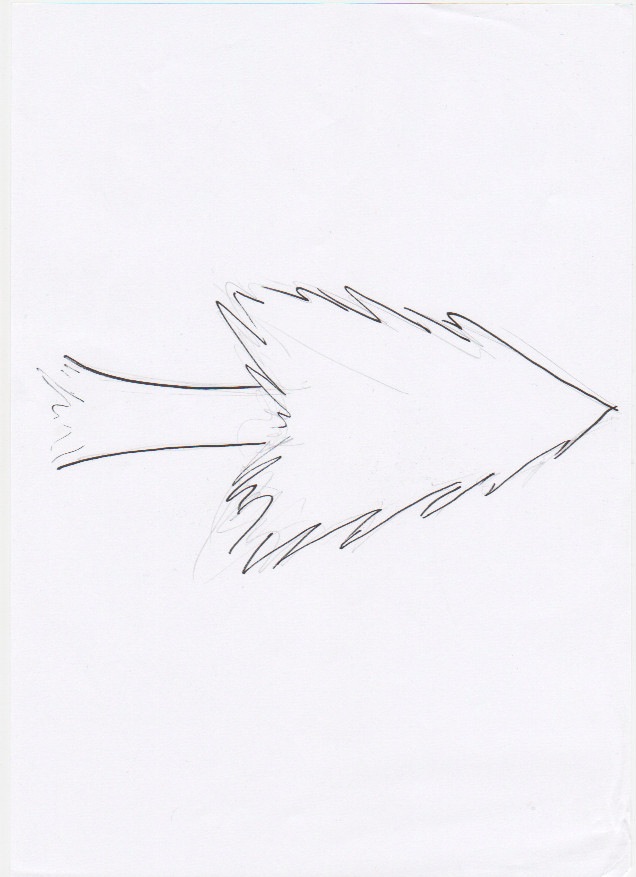
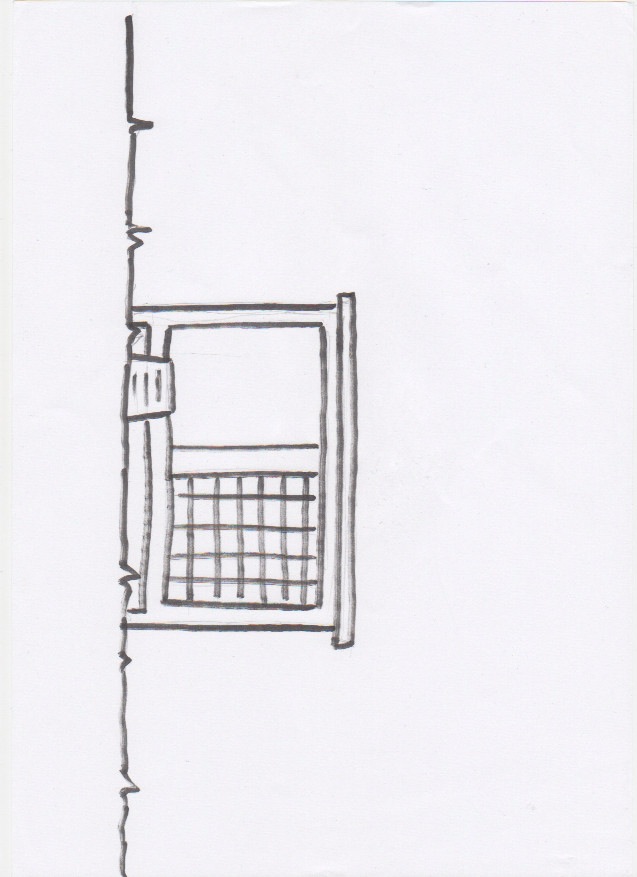
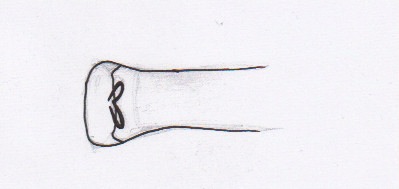
Today me and Hannah have worked on creating some images that we will use in the final animation such as sprites and backgrounds. We first sketched them out by hand then outlined them with a thicker, darker pen so that the scanner could pick them up easier. We then scanned them into the computer and edited and coloured them to fit our scheme and ideas.
We did this progress for multiple parts including Hazel's tree, Barnaby's Hutch and Barnaby's water bottle amongst others. The next step with these parts is to get them into the animation stage.
I also started crating a test animation for our second character 'Hazel', starting by dissembling her original picture into workable body parts.  Flash is definitely the tool I want to use as it has everything we want to achieve under a seemingly simple system, unfortunately parts of the programme are proving to be frustratingly difficult but I am managing to work around or figure out all of the problems so far.